Foodie

Cinnamon Candy

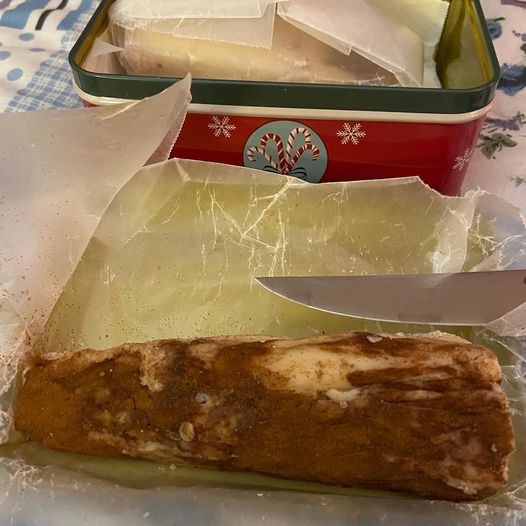
My mom made some cinnamon candy, just like she and my grandmother used to make when I was a kid – and it was amazing. It looks pretty bad but it tastes SO good. Folks asked for the recipe and I realized that my copy in my very first handwritten recipe book is very faded … so I’m putting it here, in case my kids want it some day.

Ingredients:

1 1/2 cup Sugar

1/2 cup Pet Milk (lol)

1/8 teaspoon Cream of Tarter

1 tablespoon Butter

1/4 teaspoon Salt

1 teaspoon Vanilla

Cinnamon

Directions:

Mix Sugar, Pet Milk, Cream of Tarter, Butter, and Salt in a pot. Cook to boiling – stirring continuously. Once it boils, cook to soft ball stage, stirring occasionally. Remove from heat and cool til lukewarm or until your hand can be held comfortably on the bottom of the pan.

Add 1 teaspoon vanilla. Beat til creamy & stiff. Roll on waxed paper sprinkled with cinnamon. Cut into slices.

Cinnamon Candy Read More »

The Sugar Cookie That Saved My Life

Originally published on BlogHer many, many years ago.

When I was a kid, I loved making Christmas cut-out cookies. I loved helping my mom make the dough, the recipe we used came from the Better Homes & Gardens Cookbook. I loved rolling out the dough and placing our small supply of holiday cookie cutters in exactly the right places to cut out the shapes. I loved decorating them — either with icing or without. The only problem with those sugar cookies was that I did not like to eat them and neither did anyone else in my family. We ate them but we did not love them — which might be why my mother did not let us make them every year.

When I had kids of my own, I bought a bunch of holiday cookie cutters and introduced them to the joys of the sugar cookie. Like me, they loved making the cookies but they did not like eating them. Still — it was a tradition. It was something they really loved to do, so we kept making them.

Over the years, I made those sugar cookies with my kids, with neighbor kids, with Girl Scout troops and Cub Scout dens. I even took the pre-baked cookies into classrooms and we made fun cookie decorating messes in classrooms all over the world.

I thought I’d spend the rest of my life making Christmas sugar cookies that nobody liked. I had resigned myself to nibbling on cookies made by children, faking the joy until the child turned her back and I could toss the cookie into the trash… until that wonderful day, when a book changed my life.

I wish I remembered more about what led me to buy Leisure Arts’ Christmas Gifts of Good Taste. I was probably looking for some new craft ideas for projects I could do with my Girl Scouts or with my kids. This was way back in 1991, before the internet made it so much easier to find new ideas — back when you ordered books out of magazines or from book clubs and prayed the book had something in it you could use. This book has a beautiful cover, and I’m a sucker for good covers, so that’s probably what pushed me into placing the order.

I do remember receiving the book and opening it for the first time. It was late fall in Northern California. The weather was glorious and we were beginning to think about the holidays. I was excited to try several of the recipes in the book and make a lot of the crafts. My kids and my next door neighbor (and her kids) were equally excited by the idea. Both households went to work — the kids made felt Santa puppets, angel gift bags and Santa cookies (made out of Nutter Butters.) If you wander through my house, you might find some handwritten holiday recipe cards made that fall by my neighbor and her children. Every time I see those cards, I remember that time in our lives and I quietly celebrate the book that changed our lives because in that book is THE sugar cookie recipe.

I clearly remember looking at the recipe and wondering “Who puts mint in a sugar cookie?” I shrugged and headed off to the commissary because these cookies were so pretty that I had to make them.

I made the dough by myself, without the help of children. I cut the Christmas light pattern out of cardstock while the dough was chilling. I carefully cut the cookies, by this time the children were very interested in what I was doing. I sent them away and told them we’d make their sugar cookies next. When the cookies were cool, I iced them by myself with homemade red and green and blue icing — and they were beautiful.

I never expected to love these cookies. I never expected the children to devour them. I really did not expect the neighbor children (or their mother) to return my plate, empty, within 15 minutes of having sent it over. I never in my wildest dreams imagined I’d be in the process of making a double batch of that recipe before I even cleaned up from the first batch. Those cookies… they were that good. I’ve never considered trying another recipe. Ever. There’s no need, I’ve found perfection.

I’ve carried this recipe with me all over the country (and the world) and I’ve always had rave reviews — even when the cookies were decorated by pre-schoolers with germy fingers. I’ve shared the recipes with friends online and always had rave reviews. Every fall, someone emails me or messages me asking me for the recipe. When I met TW’s children, they’d never experienced the joy of the sugar cookie (TW is not a fan) and they were immediately converted to mint sugar cookie lovers. Our holiday would not be complete without this cookie — it’s not just the fun they have sitting around the table together, making anatomically correct snowmen and gingerbread girls. It’s that they actually LIKE to eat them.

Mint Sugar Cookies

Cookies

For cookies, cream butter and sugars in a large bowl until fluffy. Add egg and mint, beating until smooth. In another bowl, sift flour and baking soda. Stir the flour (and nuts if you use them, yuk!) into the creamed mixture until soft dough forms. (And if I’m honest, I’ll admit to quite often NOT sifting because who has time to sift when you have a zillion kids wanting to make cookies?? Hasn’t ever hurt the cookies to not sift… just sayin’.) Cover and chill for an hour.

Preheat the oven to 350. On a lightly floured surface, use a rolling pin (or the heels of your hand like I do, lol) to roll out the dough to 1/4″ thickness. Use cookie cutters to cut cookies and back for 8-10 minutes or until light brown. Cool on a wire rack.

For icing, beat sugar and milk in a large bowl until smooth. Divide icing into small bowls and tint with food coloring. Spread icing on the cookies and allow the icing to harden (if your cookie eaters don’t eat them first!)

Makes about 2 dozen cookies.

3/4 cup of butter (or margarine), softened
1/3 cup granulated sugar
1/3 cup firmly packed brown sugar
1 egg
1 teaspoon mint extract
2 cups all-purpose flour
3/4 teaspoon baking soda
1/3 cup finely ground walnuts (I leave these OUT)

Icing (I rarely make icing anymore…)

5 cups confectioners sugar
1/2 cup plus 1 tablespoon milk
Paste food coloring

A sugar cookie everyone loves… who would have guessed it? (Oh. Wait. There is one hold out — TW has still never tasted one of these cookies. She swears she won’t like it. Her loss, more for us!) This is also the cookie that is causing my vegan child angst this year… so we’re going to try a vegan version and see what happens — fingers crossed!

~Denise

BlogHer Community Manager
The Sugar Cookie That Saved My Life Read More »

Disney Foods at Home: Corn Dog Nuggets

I was inspired by Kristine Fraser and decided I would also try making Disney World foods at home. Which is awesome because Disney foods but even more awesome because I rarely cook anymore…(I’m skipping the Dole Whip from her list, because that’s not an official recipe, I don’t care what anyone says. Dole Whip is vegan and that recipe isn’t vegan. Also, we have the official Dole Pineapple Frozen Yogurt mix which DOES make more realistic Dole Whip anyway.)

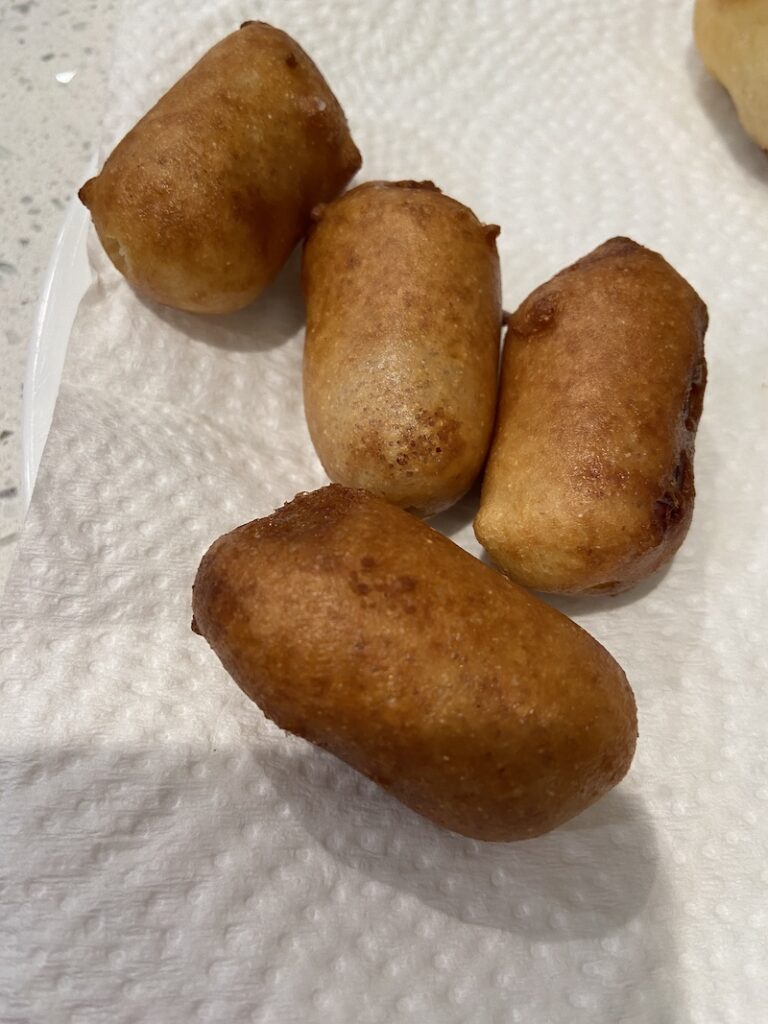
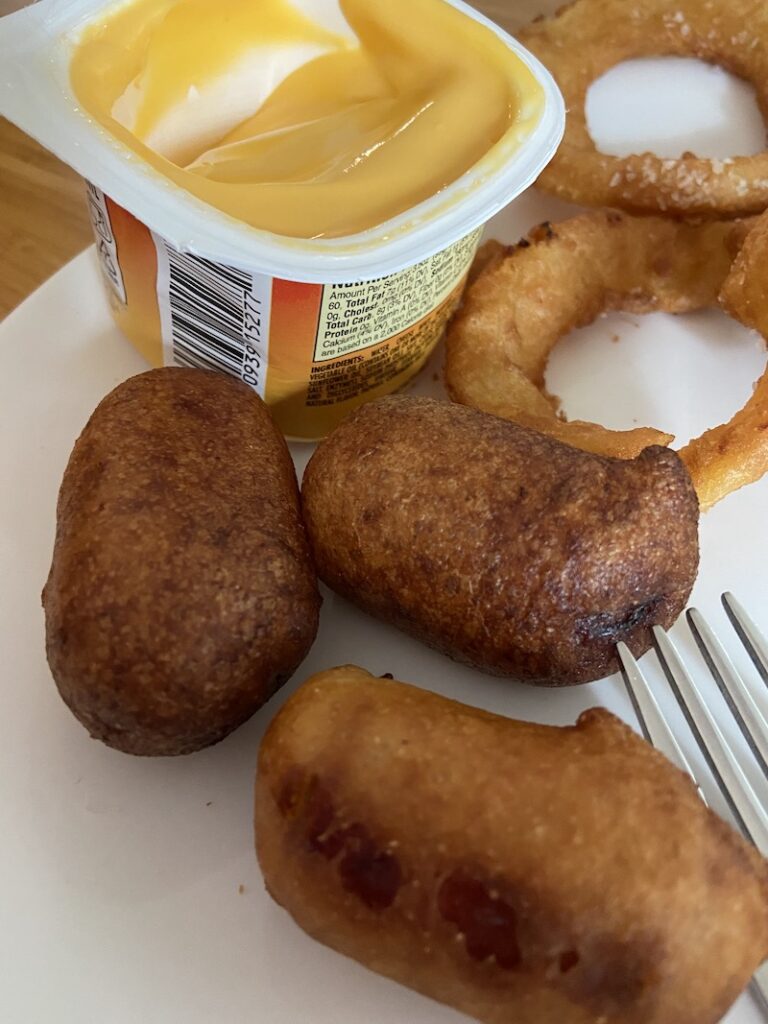
Well… here’s Kristine’s version (and the original) – Kristine’s look much better than the real thing. And speaking of the real thing, we want so much to like the Casey’s Corner corn dog nuggest + plastic cheese but we just don’t. They’re not good, though they are beloved by many.

I honestly didn’t have high hopes for this – deep frying is not my strong suit and deep frying with wet batter is REALLY not my strong suit. And, we have some weird really fine corn meal that is almost like a corn meal flour that didn’t work well for a recipe TW made with it. So… I was skeptical.

I continued to be skeptical as I started dipping the hot dogs (1 cut into a nugget size and one regular size hot dog) into the batter and then into the dutch oven of hot oil.

When they suggest using a jar for the batter, for easier dipping – that should not be a suggestion, it should be a requirement. Once I switched to a jar, things went along better.

BUT important note – the amount of milk in the recipe is NOT enough. I added and added and added and added…. (You know how when you make Jiffy Cornbread, you set the batter aside for a bit so it can thicken up… that’s what kept happening to my batter. It was so thick, I kept losing mini hotdogs in the batter, so I had to keep thinning it with milk.)

Also, the 2″ of oil was not enough or my dutch oven is too darn small (?) – it was really hard to get the whole hot dog into the oil, particularly for the full sized dog. The first few were weird as they really puffed up and didn’t get very browned.

After that… I found a rhythm and a method that worked and it was a success. TW’s mom definitely liked them. TW and I thought they were ok… they need more flavor of some sort but they were certainly as good as any corn dog nugget we’ve had at Casey’s Corner.

I don’t think I’d make these again – not without some changes to the recipe which would make this not the same recipe, eh? Or maybe I’d make them if a kid or a grandkid REALLY needed me to make them. Otherwise… naw, once was enough.

Disney Foods at Home: Corn Dog Nuggets Read More »

Three Disney Cocktails at Home!

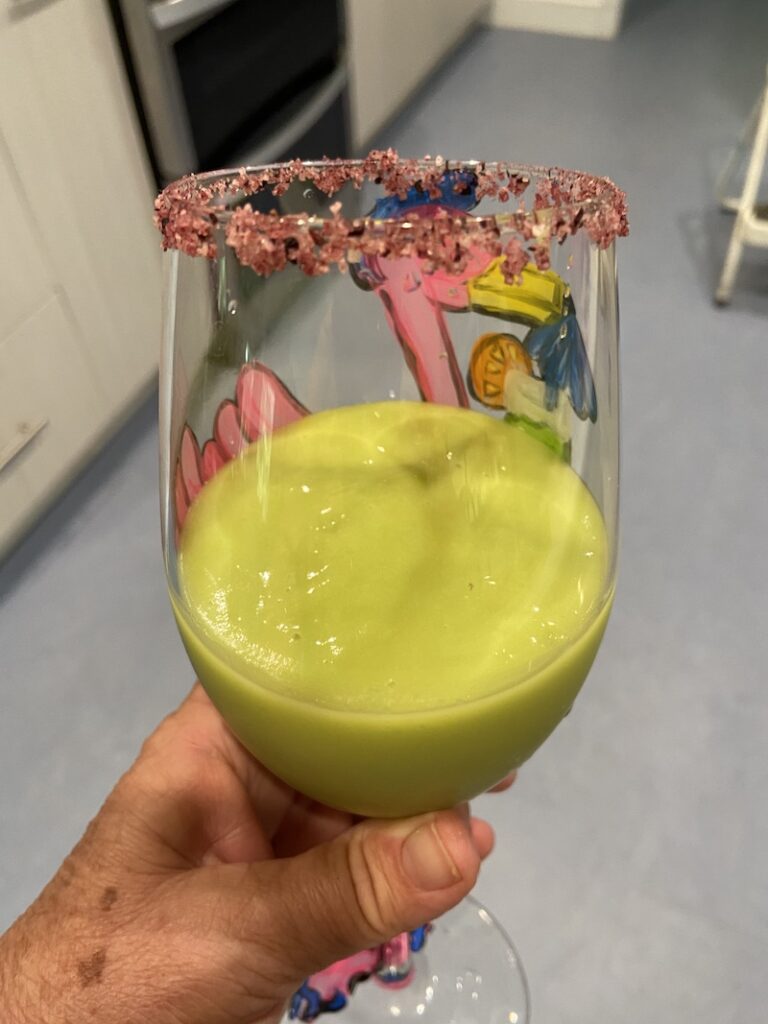
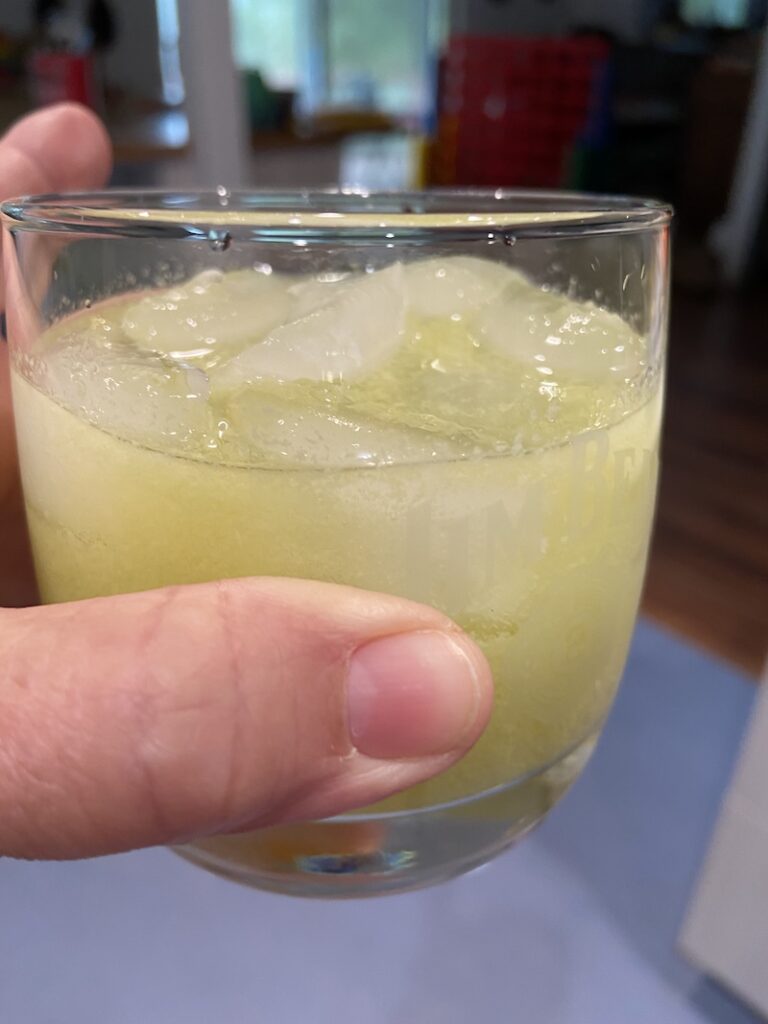
One of the best drinks on property (fight me!) is the Cava del Tequila avocado margarita. I used this recipe and OMG, so good. Important note about the hibiscus salt on the rim. My version (ordered from Amazon) was really coarse salt. The Cava del Tequila version is much finer. Use a finer ground, if possible. Oh… did I get avocado at the grocery yesterday? I think I did! I think another one of these is in my near future. My immediate future, actually. Because why the hell not?

The next two drink recipes are here – the frozen and the on the rocks versions of the Kungaloosh. The Kungaloosh cocktails are from the old Adventurer’s Club way back before Disney Springs became Disney Springs.

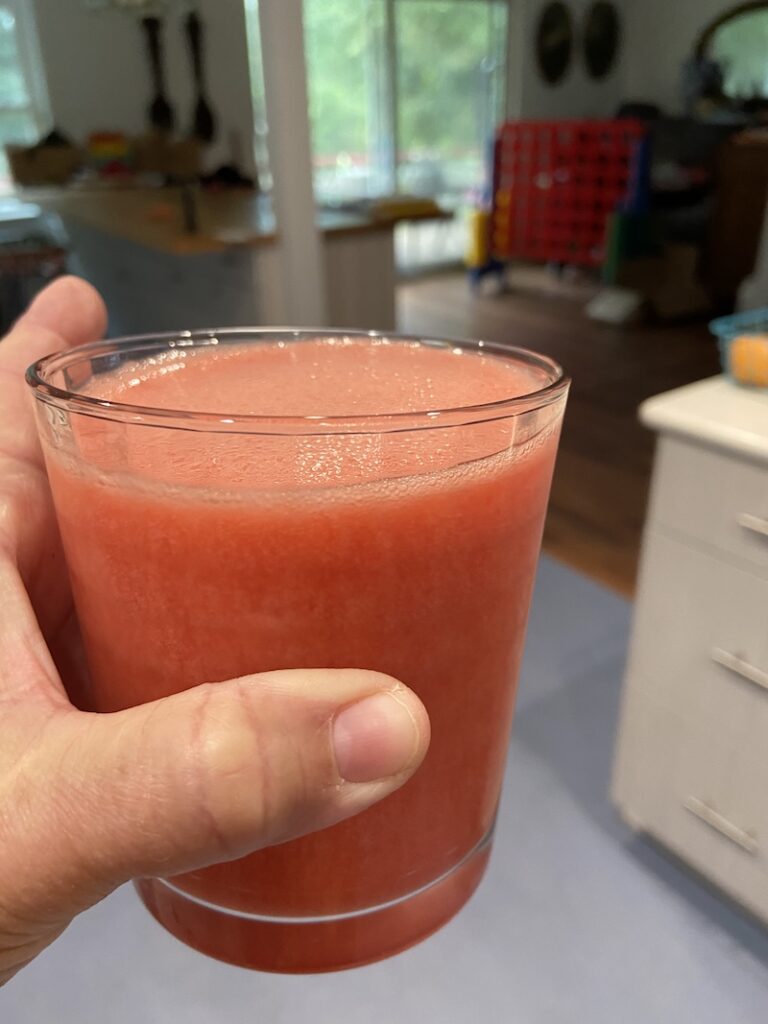
The frozen one in particular sounded good to me, so I grabbed some blackberry brandy while I was at the Navy base last month. It’s really pretty much a daiquiri with some blackberry brandy tossed in for a little extra something. It was good. I bought another bottle of daiquiri mix just so I could make this again and finish off that blackberry brandy.

Since I tried the frozen Kungaloosh, it seemed like I should try the on the rocks version, too. So I did. (Is this version still available at Trader Sam’s in Disneyland – or would it be if Trader Sam’s in Disneyland was currently open?) I didn’t have any Malibu so I used some other type of coconut rum that we have lying around (Never buying that stuff again. NEVER. NOT for any reason.)

This was one of the worst drinks on the planet. Possibly due to the horrible coconut rum. I dunno. TW refused to drink it. I added Tampico to it and drink half of it and tossed the rest out. NOT good.

Three Disney Cocktails at Home! Read More »

Disney Food at Home: Tonga Toast

The problem with the pandemic is that I don’t go into grocery stores so I am at the mercy of the grocery store employees who are choosing my order. Sometimes they give me good substitutions, sometimes they don’t even seem to bother trying. I asked for a bakery style loaf of sourdough…. because I need extra thick slices for this recipe for Tonga Toast, (basically it’s the Polynesian Resort version of a stuffed french toast.) Instead, I got a loaf of regular old sliced sourdough. What to do, what to do…

I pondered taking my french bread (unsliced) that is for another meal and using that because I’d be able to cut those slices really large. But, that would leave me a meal short for the week and I just couldn’t wrap my head around a menu change so… I made something up.

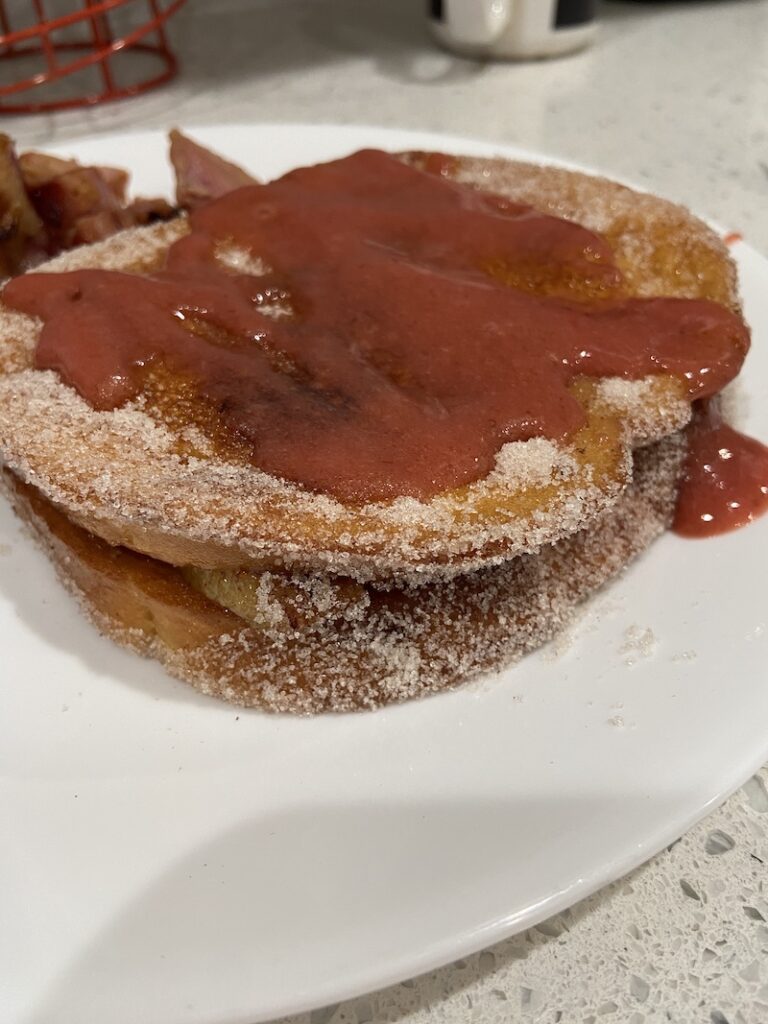
I used two slices of the sourdough, put sliced banana in between each, used my hands to dip the whole “sandwich” into the egg mixture, used a big slotted spoon/spatula thing to gently lower the sandwich into the hot oil, used that spoon thingy and another smaller spatula to slowly turn the sandwich over so it could fry the other side and…

WINNER!

I even made the strawberry compote though I made that up too. I used 1/3 of a bag of Schwan’s frozen strawberry/banana mix instead of fresh strawberries.

TW’s mom LOVED it. But TW and I agreed that because the “toast” was not as thick as real Tonga Toast, it was just a LITTLE sweeter than it should have been. TW said a three slice sandwich would have been perfect. She’s right but that would be very hard to manage in the pot of oil. I just really need that whole loaf of sourdough, darn it.

Disney Food at Home: Tonga Toast Read More »

Disney Food at Home: O’hana Breakfast Bread and Bread Pudding

I was inspired by Kristine Fraser and decided I would also try making Disney World foods at home. Which is awesome because Disney foods but even more awesome because I rarely cook anymore…(I’m skipping the Dole Whip from her list, because that’s not an official recipe, I don’t care what anyone says. Dole Whip is vegan and that recipe isn’t vegan. Also, we have the official Dole Pineapple Frozen Yogurt mix which DOES make more realistic Dole Whip anyway.)

(Oops, forgot that Kristine had done this one. You can see her version here.)

You win some and you lose some. Should have quit while you were ahead.

Both ring true when I think back to that fateful day when I decided to make the O’hana Breakfast Bread in the morning and then make the O’hana Bread Pudding (using that Breakfast Bread) at night.

I read a lot of recipes and blog posts about the recipes. I watched several videos (much to TW’s annoyance.) I was fairly confident that if I could get the bread right, then the bread pudding would follow along nicely. That was my theory.

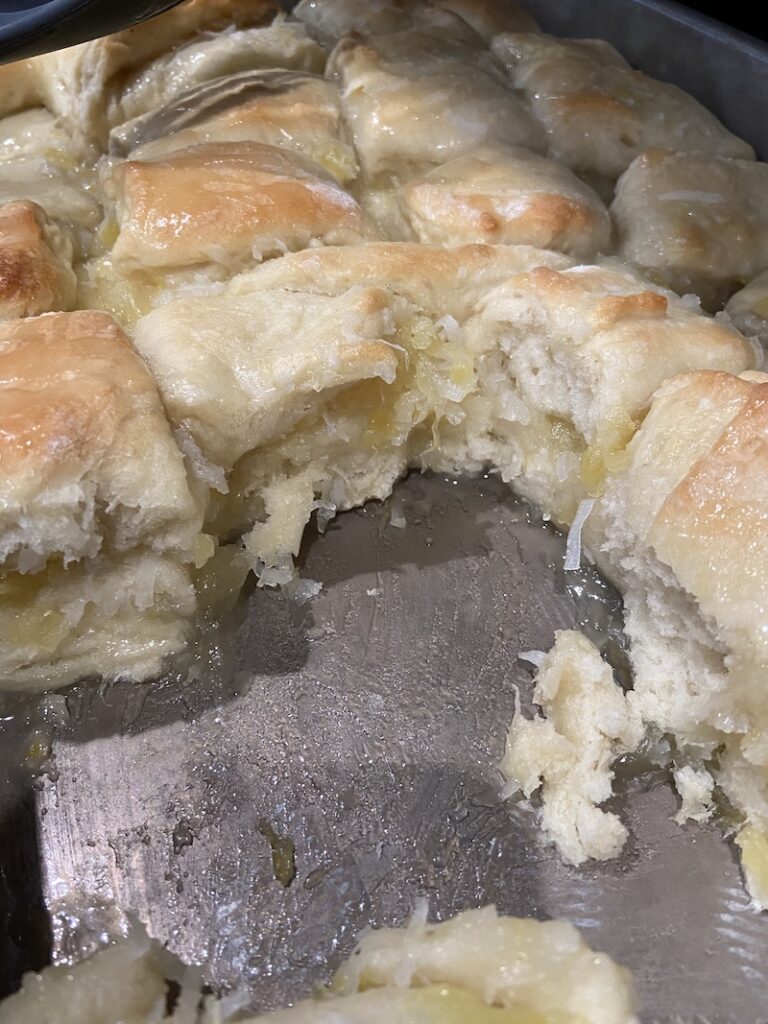
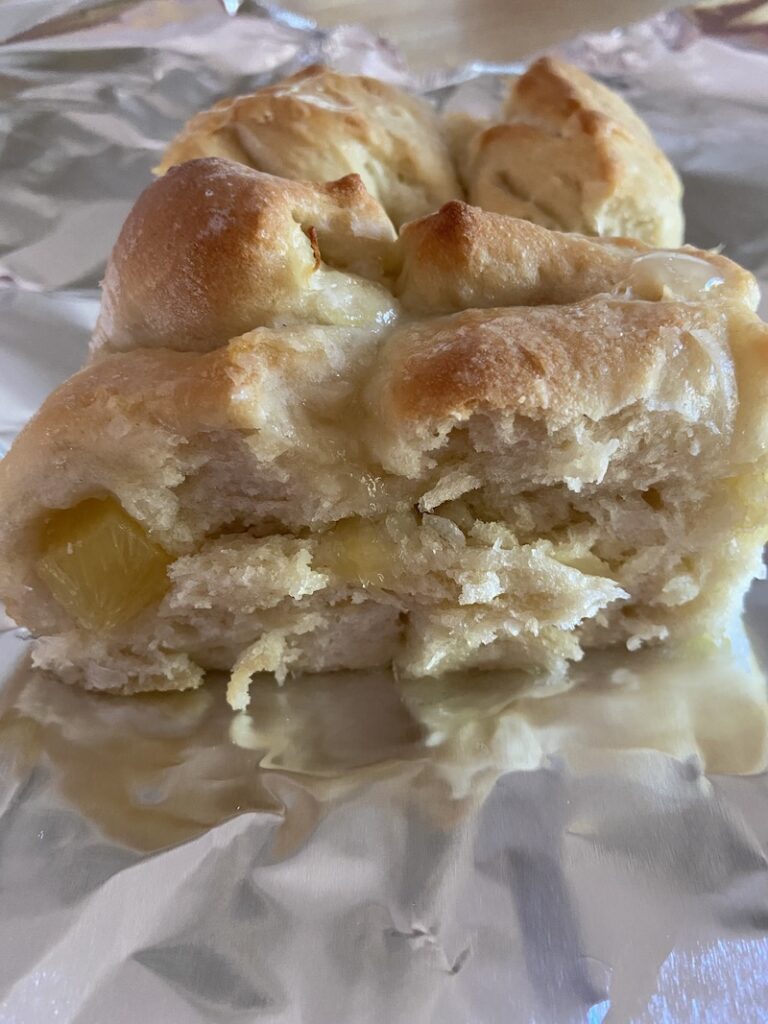
Let’s start, as one should start, at the beginning. The O’hana Breakfast Bread. I ended up with this recipe, (sorry – it’s all the way at the bottom of the page), except I added a light glaze on the top because that bread DOES have a glaze.

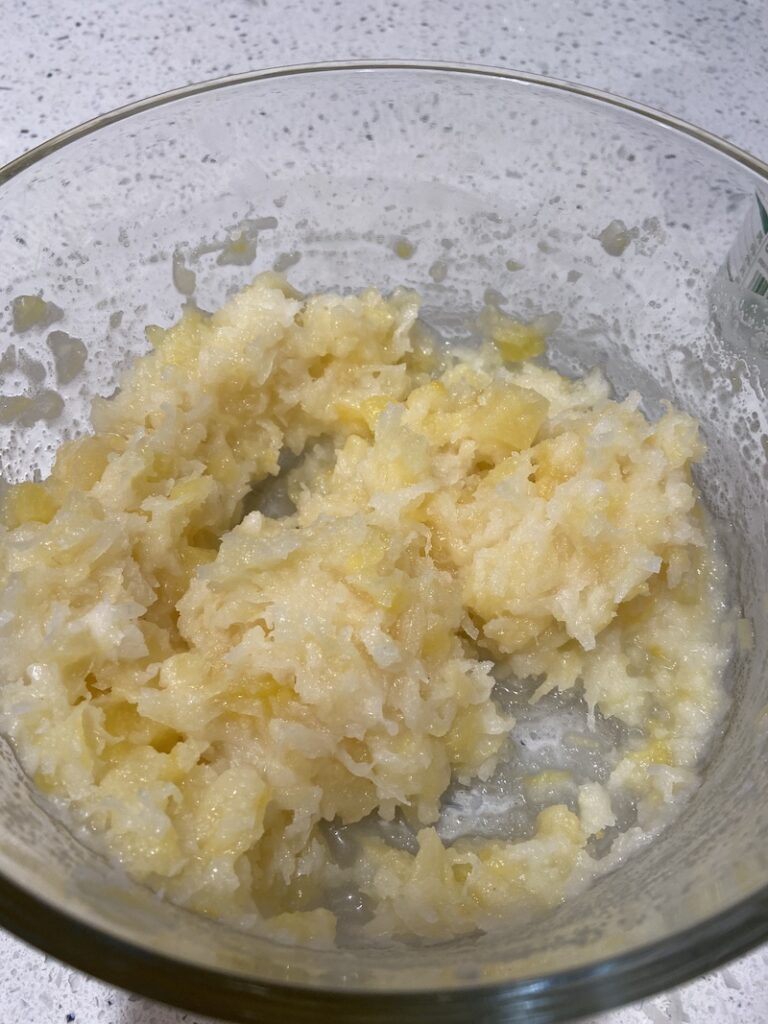
I actually made the pineapple coconut filling the night before and left it in the refrigerator. And either I’m really good at draining a can of pineapple or that extra time solved a problem that most people have with their pineapple mixture being super wet and runny and messy. Mine was thick and fabulous. Not a runny, drippy mess.

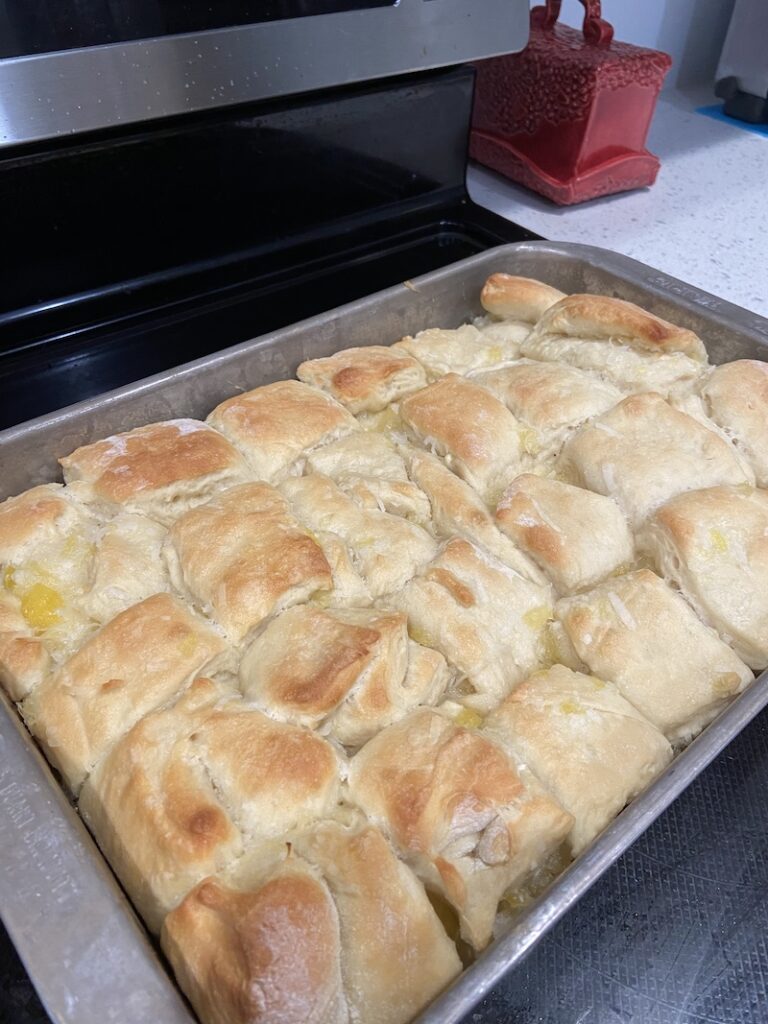
This recipe – it turned out pretty much perfect and as close to the real thing as I think you can get.

Winning. Super easy.

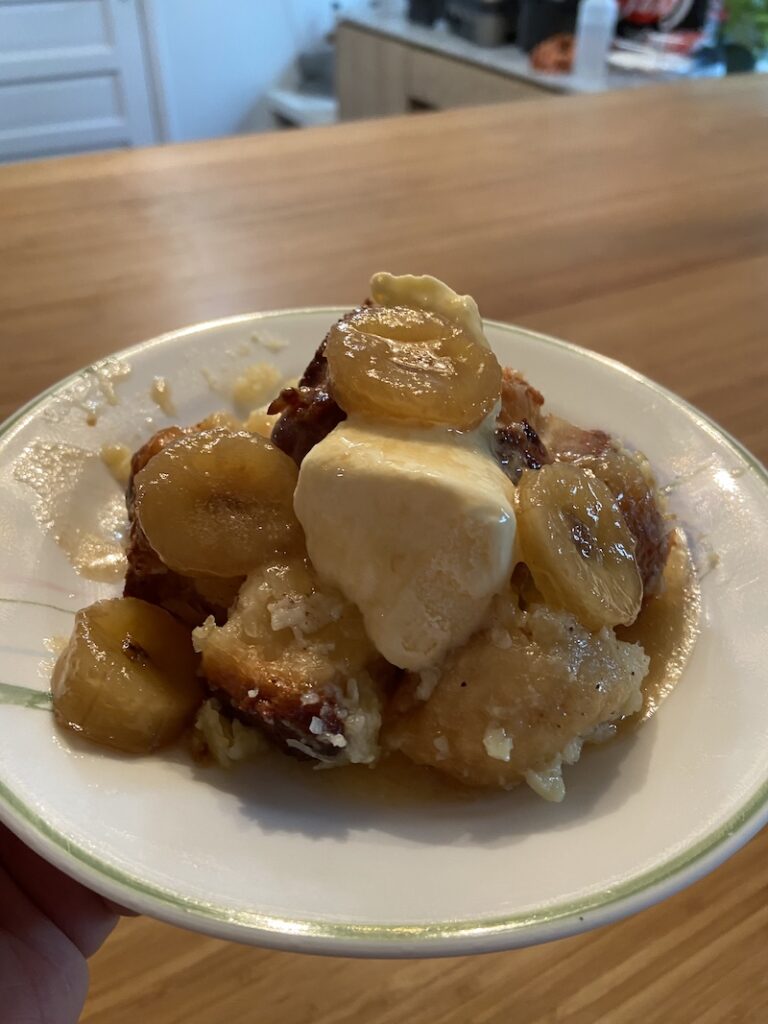
Then came the O’hana Bread Pudding. I went with this version of the recipe. I followed it to the letter except, I did not flambe’.

It was a catastrophe.

When my bread came out of the oven, it still felt kind of wet and gooey. I should have toasted it longer. Or made this after the bread was less fresh, I think. It did soak up the custard mixture nicely and the custard set pretty well but the darn thing never REALLY came together. Which might have been ok because chunks of bread alongside custard could taste ok… but there were bigger issues.

Just as I poured the rum into the bananas foster, I realized the top of the bread pudding was getting way too dark so I reached down to pull it out and cover it and… I tipped the handle of the pan and boozy hot caramely goo went all OVER my stove and floor and missed the dog and my foot by about 1/2″. I shut off the heat, shut off the oven because burning bread pudding… cleaned the bottom of the gooey pan, shifted to a different burner, covered the bread pudding with foil, brought the damn bananas back to boil and…

I apparently forgot to turn the oven back on.

And, the bananas foster never did thicken up again.

We attempted to eat it – with ice cream and without – it was TOO sweet. That was the biggest problem, really. We possibly could have eaten it if it just had not been that sweet.

I thought I might salvage half the bowl by warming it the next day and not adding bananas foster… but Buster had other ideas and found a way to pull the rest of the bowl onto the floor. He didn’t have any trouble wolfing it down before I got to it. No accounting for taste.

Did I mention I don’t LIKE bread pudding – even when it’s a good bread pudding?

Whatever. Hmph.

Disney Food at Home: O’hana Breakfast Bread and Bread Pudding Read More »

Disney Food at Home: Satu’li Canteen Cheeseburger Pods

I was inspired by Kristine Fraser and decided I would also try making Disney World foods at home. Which is awesome because Disney foods but even more awesome because I rarely cook anymore…(I’m skipping the Dole Whip from her list, because that’s not an official recipe, I don’t care what anyone says. Dole Whip is vegan and that recipe isn’t vegan. Also, we have the official Dole Pineapple Frozen Yogurt mix which DOES make more realistic Dole Whip anyway.)

As I’ve already mentioned, Satu’li Canteen is one of my favorite restaurants on property and the Cheeseburger Pods will always be on my plate – even if they did shift them over to the kids’ menu only. (HMPH!) This is the recipe that scared me the most, out of all of the recipes Kristine posted.

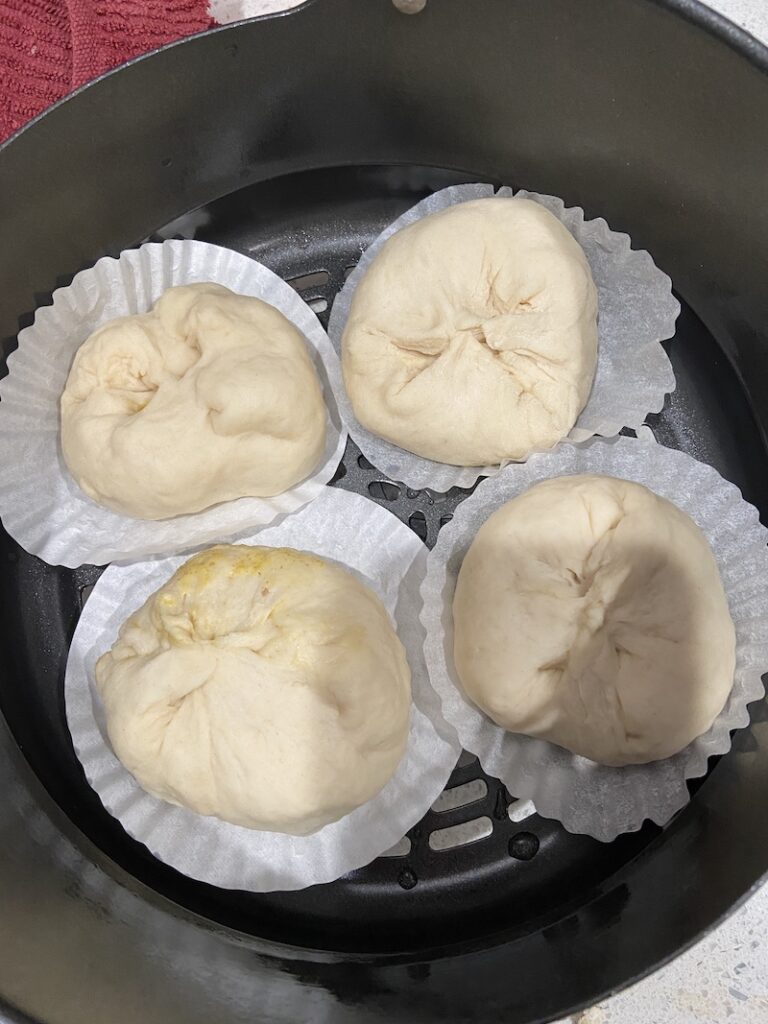
I’ve never made bao buns, and that’s what Cheeseburger Pods are. I am not a bread baker, either. I don’t own a steamer basket. This recipe was WAY out of my comfort zone, so I read a ton of recipes and blog posts about making bao buns – both in and out of the Foodie, held my breath, and then…. kept putting off making these. I truly postponed them 6 times before I couldn’t postpone it any longer and I did it.

I DID IT.

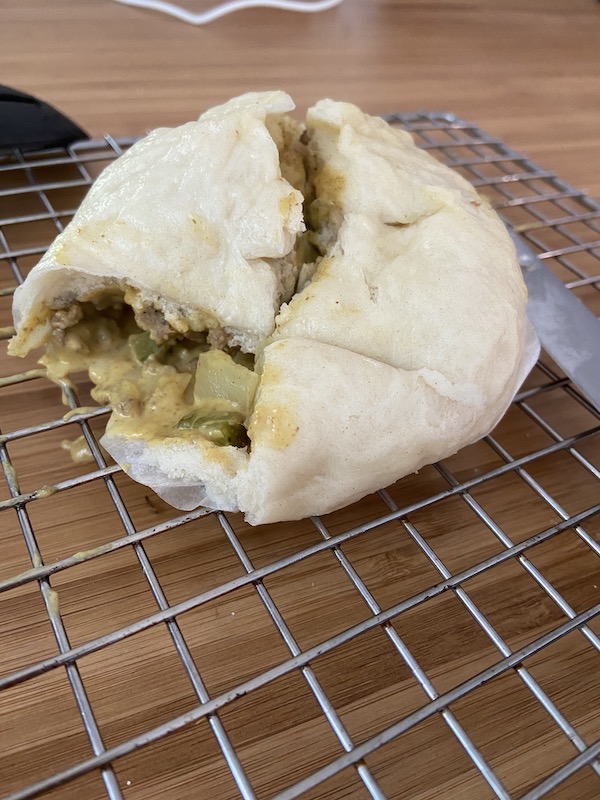
They are not beautiful like normal bao buns. I had some issues with them during the steaming process. But, I DID IT. I’m really quite proud of myself. So let me tell youuuuuu (hi Pippin) about it.

Let’s start with the filling – it’s just the cheeseburger spring roll filling that I made a few weeks ago, with some tweaks I mentioned in that post. I added 2 more ounces of velveeta and a wee bit more pickle, but otherwise it’s the same recipe.

For the buns, I used the recipe Kristine included in her FB post and I followed it exactly. Mostly.

  • I had a wide range of sizes when I separated the dough into rods and pieces so it was a bit of a struggle and my buns were too small, too big, and just right. How to get them all just right is the problem. (Should I find myself on perpetual furlough, I’m going to become a bao bun expert and solve this problem… just sayin’. )
  • At some point in my research, I read that you can just use cupcake wrappers instead of parchment paper so I did that because who has time to cut out 15 little squares of parchment paper for multiple sized bao buns? Not me – which was a mistake. The wrappers stuck to the buns – badly. Not good. Don’t use cupcake wrappers, ok?
  • This is where I left Kristine’s instructions behind and moved to these instructions for steaming them in the Instapot. The times for the steam and the pressure cook settings were NOT right for my machine. It wasn’t until much later that TW told me that not all machines are the same size or type so cooking times vary. Hah. Nice to know, now. Times pretty much needed to be doubled for our machine – and even then it just didn’t seem to be consistent. Sometimes I’d vent and NO STEAM came out, on either setting. Other times I’d vent and TONS OF STEAM CAME OUT FOREVER AND EVER. No rhyme or reason as the water level was the same for each attempt. I’d steam for 3 minutes, vent, see that they weren’t “done,” add another cup of water, steam again for 3 minutes, vent, and they’d be done. Except when they weren’t. Same thing happened on pressure cook setting. Shrug. In the end, they all worked and the buns (except for the one I tore apart mid-cooking to see what it looked like.) It just took multiple steamings/pressure cooking rounds. The steam setting made the best dough so if I do this again in the Foodie, that’s the setting I’ll use.

I froze five buns and hope they turn out ok. I’ve eaten three for lunch for the last three days (Reheat one at a time in the microwave for 45 seconds with a damp paper towel over it.)

I LOVE these things. TW’s mom, again, not a huge fan. TW liked them but not as much as I did. She’d like it better if the filling was different. Or if I figured out a better filling to bun ratio. Oh, and she also thinks my filling needs more mustard. I don’t but since I love mustard, I’ll increase it next time. And there WILL be a next time.

Disney Food at Home: Satu’li Canteen Cheeseburger Pods Read More »

Disney Food at Home: O’hana Wings and Sonny Eclipse Green Beans

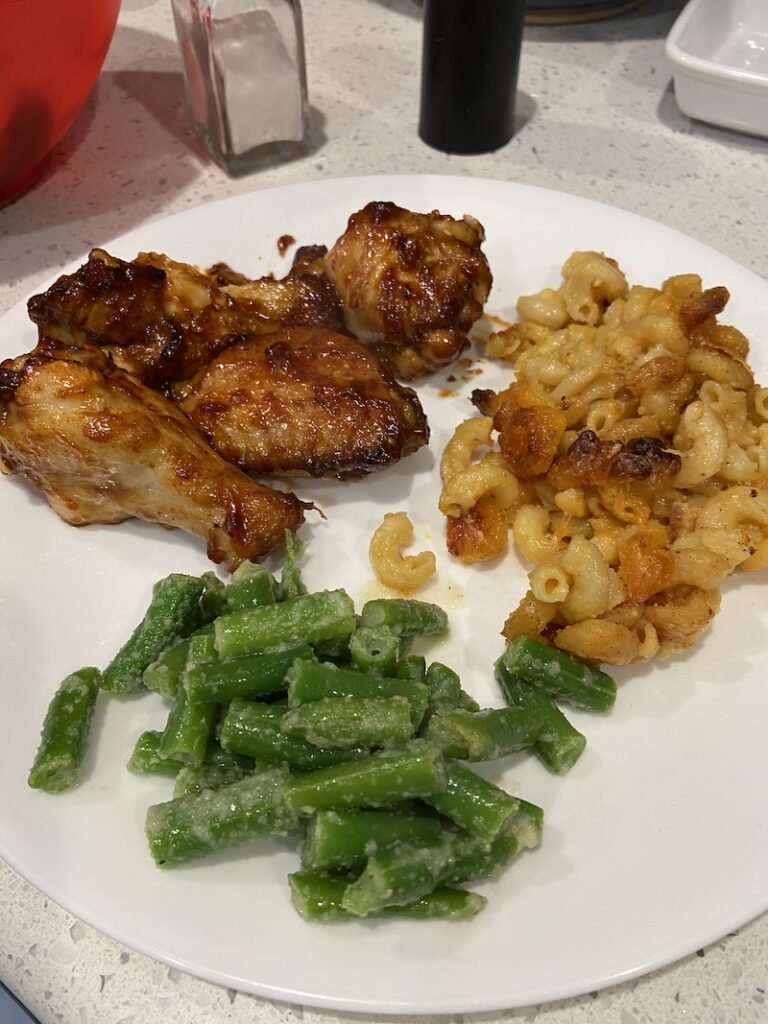
One was a winner, one was not. One was really, really NOT… let’s start with the winner. O’hana Wings. Yes, please… all day long. But, I’m a wings fan. TW’s mom is not a wings fan and she said they were “OK.” I didn’t make enough, there were no leftovers. I will make them again and I will double the recipe. I will also try them in the air fryer.

Here’s the recipe. I used frozen wings and cooked from frozen. I did not alternate racks for the ribs because small double oven is small and that’s too much trouble. It was fine. I did have to drain some of the liquid off of the pan (because frozen wings = excess liquid) but that was easy and not an issue.

Here’s the photo of both – and that’s the bad Jiko mac & cheese leftovers there, too.

O'hana wings, Jiko mac & cheese, Cosmic Ray's green beans

Now, the Sonny Eclipse, errrr I mean Cosmic Ray’s Green Beans. I’ve never had them but they seemed easy and like something I’d like… I should have gone with my gut and not used the old off brand name of frozen green beans and used canned instead. Those green beans were NOT good. Not at all. I think it was the beans and not the recipe. I’ll try it again with fresh beans or canned. It really should not have been that bad.

Disney Food at Home: O’hana Wings and Sonny Eclipse Green Beans Read More »

Disney Food at Home: Totchos from Woody’s Lunchbox

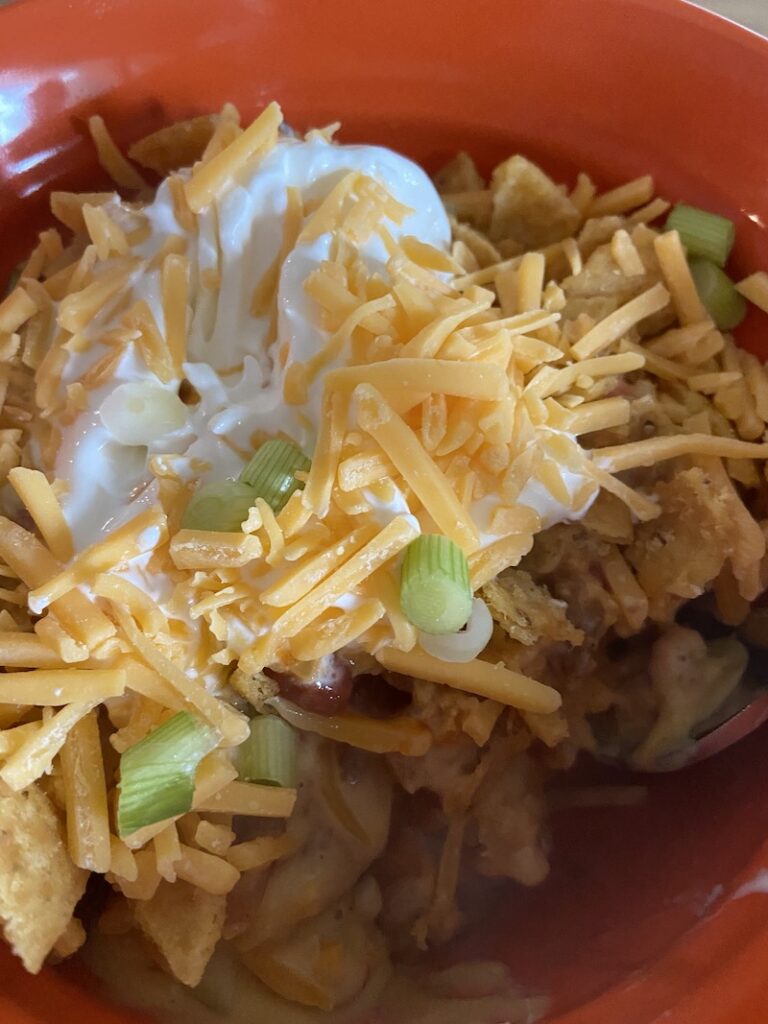
One of the easiest Disney food recipes I’ve tried, the Totchos from Woody’s Lunchbox were pretty authentic, from what I remember. I made no changes to the recipe, except I used the air fryer for the potato barrels. But, I wish I had cut the recipe in half because it makes a LOT of chili. I should have frozen that chili but didn’t and … food waste is a sad, sad thing. Don’t be like me. Halve the recipe or be ready to freeze the chili, ok?

It was hard to get a good picture, but here you go. My version. I’d make this again.

Totchos from Woody's Lunchbox

Disney Food at Home: Totchos from Woody’s Lunchbox Read More »

Two More Disney Cocktails

Oops. This working thing has caused me to fall way behind on the blogging of chickens and the blogging of Disney food at home. Also, I’ve had a lot of naps. Naps will always win over blogging, I guess.

First, go back to Monday when I made the Monorail Pink drink. I have never had a monorail drink at WDW but I have heard of them. I’ve heard the Highway in the Sky tour people might be served some of these. I’ve also heard that the DVC Top of the World lounge in Bay Lake Tower serves them. TW said something about The Outer Rim having it. I’ve also heard that you can ask bartenders at random WDW bars and some know how to make these, and some do not. Whatever. This one has gin in it and I have a ton of heavy cream that I really need to use so I made it.

I had a lot of problems with this one.

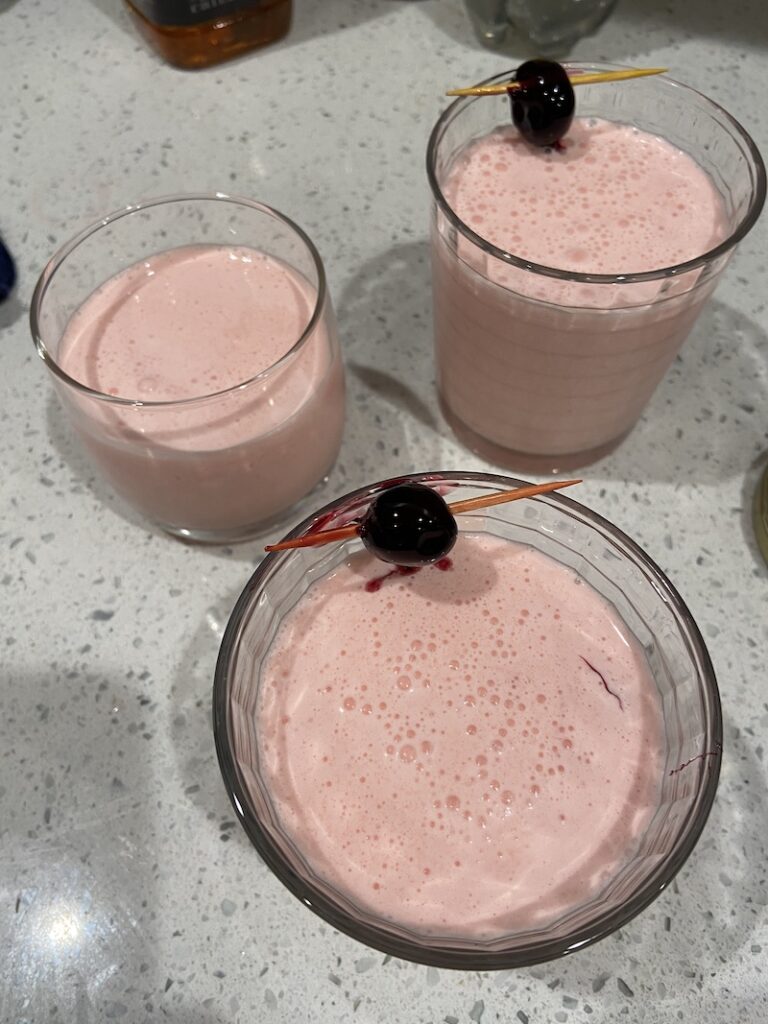
I didn’t put the lid on the Vitamix properly and pink drink shot out all over my cabinets and countertops. It also shot out all over Buster. He approved of this. In fact he approved of it so much that from that moment on, any Monorail Pink that was left too close to the edge of the counter or left unattended on a coffee table was HIS. He actually tried to climb up into my lap to drink from a glass I was holding. The dog LOVES Monorail Pink. The rest of us enjoyed it as well. It sure did have a lot of heavy cream in it. I might reduce that just a WEE bit next time. I would like a little less cream and a little more… lemony flavor.

Not a great photo as I was also making Woody’s Lunchbox Totchos and dealing with Buster and his Monorail Pink issues.

Fast forward to the end of the same week and I decided to try a Night Blossom with Rum – to celebrate the re-opening of Walt Disney World and also celebrate Slurpee Day, since 7-11 cancelled Slurpee Day due to the pandemic.

I laughed all the way through the mess that was the home version of Night Blossom with Rum.

I should have known it would be a mess since I didn’t actually have all of the right ingredients. Do you know how hard it is to buy sherbet when you do not go into grocery stores? Hitchcocks only had Blue Bunny Lime sherbet and Walmart only had Talenti Raspberry sorbet. Walmart also had the single serving cups of rainbow sherbet so I went with the Walmart option… Oh, and I also didn’t have frozen raspberries, I had frozen raspberry/blueberry combo.

I just kind of threw things into the Vitamix, kind of following a recipe but not really. I also didn’t write down exactly what I did but just go with it. It will be fine. It might not look like a true Night Blossom (you can see that in the recipe I started with – see the kid holding the drink, wearing Minnie Ears? That’s a real Night Blossom – likely without rum, hahaha) or even taste exactly like one. But it will be good. Very good. (Oh yea, I did end up buying proper popping bobas – I found a slightly better price for six containers of them. I’ll take three to the grandkids later this month. They’ll like that!)

So yea, I started with that recipe:

  • 1 Cup Raspberry Sherbet
  • 1 Cup Frozen Raspberries
  • 2 Cups Ice Cubes or Ice Chips
  • 1 Can Sprite
  • Lime Sherbet
  • Bobas

In the blender, I tossed in about a 1 cup of Talenti Raspberry Sorbet, a cup of Schwans frozen raspberry/blueberry combo, 2 cups of ice, about a 1/2 can of (fake) Sprite, 6 oz – ish of Bacardi. I blended. And blended. And blended. It was pretty thick, even using the Vitamix tamper tool thingy, things seemed like they didn’t want to mix very well. It also tasted really raspberry. So I tossed in a couple more ounces of rum and another shot of (fake) Sprite.

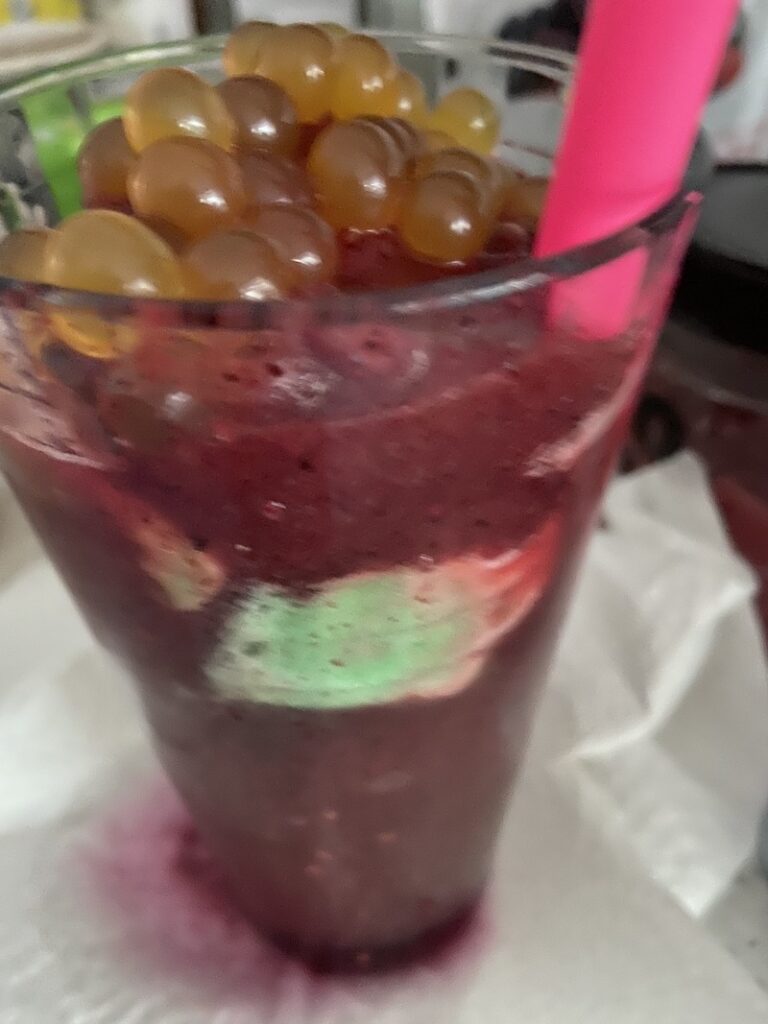
I poured some (TOO MUCH) of the mixture into a tall glass, spooned out some of the GREEN sherbet from the little single serve cups and it promptly sunk to the bottom of the drink where it was mostly forever unseen. I used 8 of the little cups, trying to stick with only using the green sherbet in an attempt to have it looks SOMETHING like a Night Blossom. It was HYSTERICAL, which is why I said I laughed all through it. Skeeter particularly enjoyed this one since there was sherbet and sorbet EVERYWHERE and I used like 16 spoons trying to keep the different color sherbets out of the glass and trying to convince the green to NOT SINK.

Skeeter is very good at grabbing spoons, single-serve sherbet lids, and half-empty sherbet cups from the counter while one is trying to convince green sherbet to float and not sink.

In the end, I said to heck with it and spooned extra sherbet of other colors into the glass because IT DID NOT MATTER and I wasn’t going to waste all of that sherbet even if it only costs like $2 for 12 cups. Whatever. Skeeter was sad by this development as that reduced her grab-n-go options.

And…yes, bobas went on top. TW and her mother are not big fans of bobas. I don’t think they ate their boba since I found the sink strainer full of boba after their glasses were rinsed. They did both enjoy the drink, though. I also enjoyed it and I made sure to eat every single one of those bobas before I rinsed my glass. I enjoyed it enough that I’m thinking about making it again – this time using all of the sherbet in the cups right off the bat. Our freezer is overflowing and using up the frozen berries, sorbet, and sherbet would help with that. A lot. Yea, I’m going to do that right now – don’t tell Skeeter.

Here is a really bad photo of my home version of a Night Blossom with Rum. (Night Blossom can be found in Pandora at the same shop that you buy the Pongu Lumpia – right next to Satu’li Canteen.) I thought for sure I could get one decent drink made and get one decent photo. Nope. Note the raspberry colored wet paper towel under the drink. Classy, right? Look! A little green sherbet…also some orange but shhhhh.

Two More Disney Cocktails Read More »